Hoosier Pie
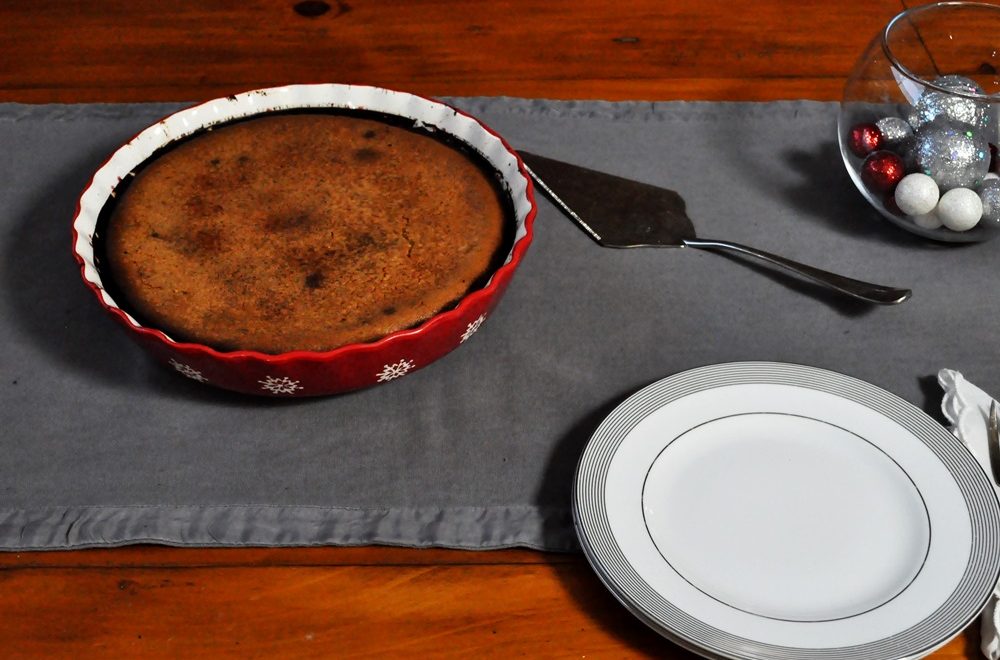
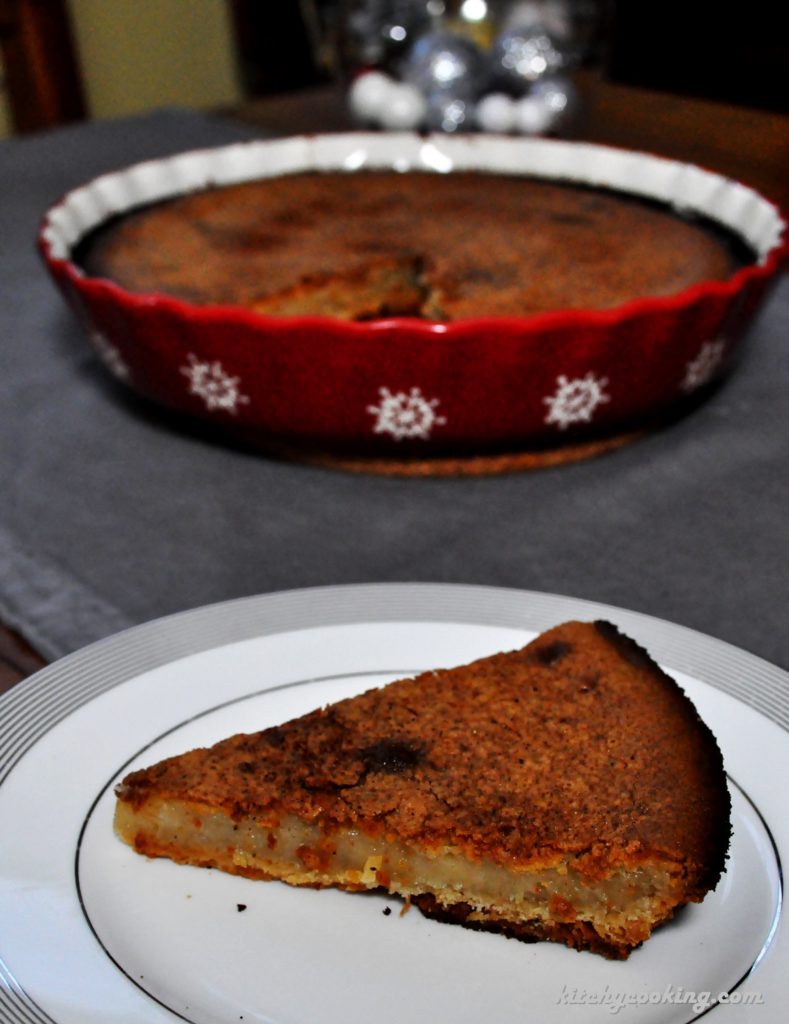
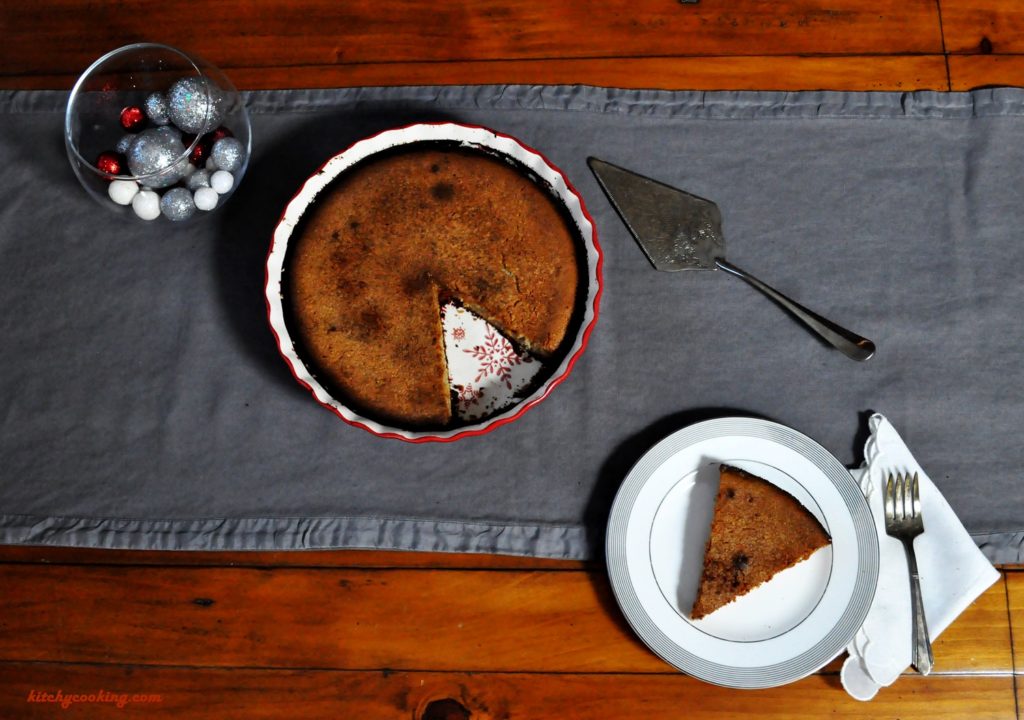
And pie month continues. During the holidays there are two things that often grace tables all over: cookies and pies. While Pumpkin and Apple are the common choices, there are so many alternatives. Chocolate, lemon, cranberry… the list goes on and on. So, in honor of that long list, I’ve decided to whip up a classic. A pie that’s been around since the 1800’s and is so simple to make, you could do it with your eyes closed: The Hoosier Pie.
Dating back to the mid-1800’s the Hoosier pie was originally created by the Amish and Shaker communities of Indiana. It was mixed up as something sweet when families were desperate and there was little in the pantry. Since the pie is just a mixture of cream, sugar and flour, it was a dessert that could easily be whipped up in an hour with ingredients that almost anyone had in their kitchen. It gained popularity across the country during the Great Depression when most people couldn’t afford apples, let alone eggs.
If you’ve never heard of Hoosier Pie, you may know it by another name, afterall, this pie has several. It’s been called Finger Pie, Sugar Cream Pie, Depression Pie and the aforementioned Hoosier Pie. But no matter what name you call it, it’s the same pie. A pie made with sugar, cream and flour. That’s it. And that’s why it’s been referred to by names like Depression and Sugar Cream. But don’t let the lack of ingredients fool you. It’s a delicious dessert that’s creamy, sweet and delectably dense.
I can’t believe a pie this easy would taste this good. But then again, it would have to be tasty to still be around over a hundred years later. My favorite thing about this pie though, is that it’s the perfect dessert to throw together this holiday season. Sure, you could have the standard apple or pumpkin, but why not make something rich and creamy and full of vanilla and spices. I mean, those flavors scream the holidays to me as much as any apple or pumpkin pie. But I bet no one at you table has ever seen or tasted a Hoosier Pie, unless they’re from Indiana that is.
Notes
Adapted from Saveur Magazine
Ingredients
Pie Crust
- 1-1/2 cups flour
- 1 tablespoon sugar
- 1/2 teaspoon salt
- 4 tablespoons cold butter
- 4 tablespoons lard
- 2 - 4 tablespoons ice water
Filling
- 1 cup sugar
- 1/2 cup flour
- 1 cup cream
- 1 cup half & half
- 1 teaspoon vanilla
Instructions
Make the crust
- Sift together the flour, sugar, and salt in a large bowl until combined. Add the butter and lard. Using a pastry cutter, cut the butter and lard into the dry ingredients until you have small pea-sized crumbs. (It's okay if you have some bigger sizes.)
- Slowly add the iced water, a tablespoon at a time, until the dough starts to come together.
- Dip your fingers in ice water to keep them cold, pack the dough into a ball and press it into a flat circle. Wrap tightly in plastic wrap and chill for at least an hour. (The dough can last in the fridge for three days or in the freezer for up to 3 months, just make sure to thaw it out in the fridge when you're ready to use.)
- Preheat the oven to 375 degrees F.
- Place the disc of dough between two sheets of parchment paper and roll out until about 1/8 -inch thick. Transfer the disc to a 9-inch pie plate. Trim the excess dough and fold to make a decorative edge. Prick with a fork and wrap in plastic wrap. Chill for at least 30 minutes.
- Line the pie shell with parchment paper and fill with pie weights. Bake the crust until the edges are golden and the crust is dry, about 10 minutes. Transfer the shell to a wire rack and let cool completely.
Make the filling
- In a medium bowl, sift together the sugar and flour, and then whisk in the half-and-half, cream, and vanilla. Pour the cream mixture into the pie crust, and bake until the filling is lightly set, about 1 hour.
- Transfer the pie to a rack and let cool completely. Grate nutmeg over the top, slice and serve.

